

I am super excited to be sharing this project! My sister in law is a pinner but she is not a crafter. Her idea of crafting is going to Etsy and
whipping out the credit card. LOL. So our current relationship is...she pins….I
say “I can make that” and we go shopping and have a craft day. I will make a crafter out of her yet. ;)
Our
most recent project was this adorable wall art for baby Jackson. She is due May 5th. (Baby Jackson is
having a few complications though and momma's status has recently been considered high risk. Lots of prayers for Jackson to stay in mommas
tummy as long as possible.)
I was super excited to put my new toy to work on this
project. I wasn't sure if it would work...but I thought if I just scanned in the image of each letter and traced it in Silhouette Design Studio...I would be able to cut out a perfect match. (Instead of the old tracing/exact-o knife method)
Guess what?! IT WORKED!!!!!
Supplies needed:
Wooden letters (We got ours at Michael's. They come painted white and they are ready to
hang with a screw hole in the back)
Paper of choice (We found this super cute paper at Hobby
Lobby and it matches Jackson’s room perfectly)
Wooden shapes (We found these at Hobby Lobby as well…another
perfect match!)
Silhouette
Scanner
Yes! Paste (or modge podge)
Let’s get started!
Using a scanner, scan and save an image (I saved as a JPEG)
of each wooden letter in your project.
(Remember where you save your scanned images). I have a HP Officejet 6500A plus all in one
scanner/printer/copy/fax. (I did have
an issue while trying to use my sister in laws scanner (Canon – not sure of the
model number) and the scanned image was not coming out in the correct
proportion. I would suggest testing this with one letter first to make sure that your scanner will cooperate
with you.


In Silhouette design studio select:
FILE tab…
Select MERGE….
CHANGE FILE TYPE to JPEG
SELECT YOUR SCANNED IMAGE (do you remember where you saved it?)
Your image will open in Silhouette Studio.

Next we need to trace the letter:
- Open the
TRACING TOOL…

- Click “SELECT TRACE AREA” button
- SELECT TRACE AREA by clicking to the right of your letter and while holding down the left mouse button; box in your letter leaving a small border around your letter. (You may need to adjust high/low pass filters to get a completely closed path.)…
- Click on the “TRACE” option in the box on the right of your screen.
- CLICK ON YOUR IMAGE AND MOVE IT OFF YOUR MAT. (You can delete the image if you like….I waited until I was happy with my trace in case I needed to retrace the letter)…

Use the ERASER TOOL to remove any “specs” that may have traced inside of
your letter. (You don’t want random dots cut in your letter.)

Now you need to REMOVE OUTER LATER of your trace.
ZOOM IN to the edge of your letter….
DOUBLE CLICK to show points…ZOOM IN to the edge of your letter….
SELECT/DELETE POINTS FROM OUTER LINE.
There are a couple of ways to do this:
Once You get Started...you can move quite quickly by repeating:
right click/delete point
*Remember the undo button if you happen to delete the wrong point.
-To delete multiple points at the same time:
hold down shift key/box in points/right click/delete point
You should now have a single lined trace of your letter.
- If you have any rough edges anywhere simply do a quick trace and it should trace a nice smooth line.
- I would print a test of this on plain paper with your printer to ensure a perfect match. Just print and lay your wooden letter on top. If all is well you are ready to cut out your letters!
Lay out your letters and paper and decide what paper you would like for each letter.
I suggest alternating patterned paper with a solid color.
When you have a pattern you like, cut out each letter.
(TIP – DOUBLE CHECK THAT YOUR PATTERNED PAPER IS NOT UPSIDE DOWN WHEN YOU CUT. YES….I KNOW THIS FROM EXPERIENCE….OOPS…:-\ )
Now lets put this all together.
- Apply a layer of Yes! Paste or Modge Podge to the wooden letter.
- Place paper letter on top and smooth out.
- Apply another layer of Yes! Paste or Modge Podge.
- Use hot glue/Wood glue/E6000 to attach the wooden shapes.
- Apply a layer of Yes! Paste or Modge Podge to the wooden letter.
- Place paper letter on top and smooth out.
- Apply another layer of Yes! Paste or Modge Podge.
- Use hot glue/Wood glue/E6000 to attach the wooden shapes.
- Hang and enjoy!


.jpg)
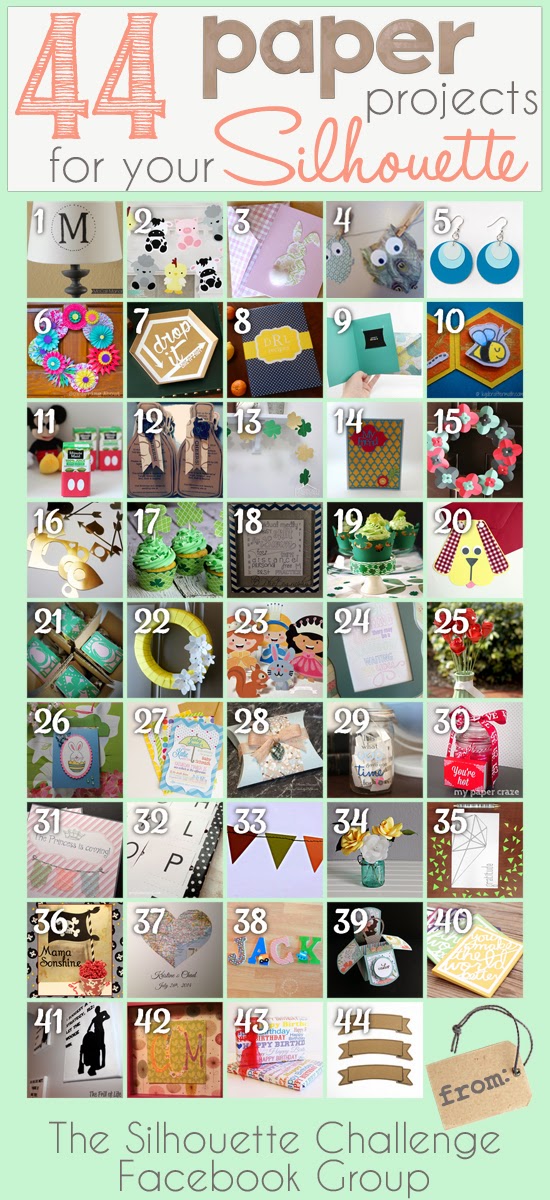
1. McCall Manor // 2. The Turquoise Home // 3. Creative Savings // 4. Sandpaper and Glue // 5. The Thinking Closet // 6. Sowdering About in Seattle // 7. Persia Lou // 8. From Wine to Whine // 9. Dream a Little Bigger // 10. Please Excuse My Craftermath... // 11. Play. Party. Pin. // 12. Everyday Paper // 13. Practically Functional // 14. A Tossed Salad Life // 15. My Favorite Finds // 16. The House on Hillbrook // 17. Adventures in All Things Food // 18. A Glimpse Into Barb's Life // 19. TitiCrafty // 20. The Experimental Home // 21. feto soap blog // 22. Creative Ramblings // 23. The Stamp Doc // 24. Ginger Snap Crafts // 25. Simply Kelly Designs // 26. Whats Next Ma // 27. unOriginal Mom // 28. Bringing Creativity 2 Life // 29. Cutesy Crafts // 30. My Paper Craze // 31. Create & Babble // 32. Grey Luster Girl // 33. The Sensory Emporium // 34. Lil' Mrs. Tori // 35. Black and White Obsession // 36. Mama Sonshine // 37. Weekend Craft // 38. Creative Carnival // 39. Peace, Love and Joyce // 40. Tried & True // 41. The Frill of Life // 42. Dragonfly & Lily Pads // 43. Get Silvered // 44. Minted Strawberry
Would you like to check out more
Silhouette projects?
I am super excited to be joining the monthly Silhouette Challenge group for the first time! This months theme is PAPER and all of the Silhouette Challenge gals are posting their projects today. Get inspired by checking out the projects below...and don't forget to leave some love...you just might make someones day!
1. McCall Manor // 2. The Turquoise Home // 3. Creative Savings // 4. Sandpaper and Glue // 5. The Thinking Closet // 6. Sowdering About in Seattle // 7. Persia Lou // 8. From Wine to Whine // 9. Dream a Little Bigger // 10. Please Excuse My Craftermath... // 11. Play. Party. Pin. // 12. Everyday Paper // 13. Practically Functional // 14. A Tossed Salad Life // 15. My Favorite Finds // 16. The House on Hillbrook // 17. Adventures in All Things Food // 18. A Glimpse Into Barb's Life // 19. TitiCrafty // 20. The Experimental Home // 21. feto soap blog // 22. Creative Ramblings // 23. The Stamp Doc // 24. Ginger Snap Crafts // 25. Simply Kelly Designs // 26. Whats Next Ma // 27. unOriginal Mom // 28. Bringing Creativity 2 Life // 29. Cutesy Crafts // 30. My Paper Craze // 31. Create & Babble // 32. Grey Luster Girl // 33. The Sensory Emporium // 34. Lil' Mrs. Tori // 35. Black and White Obsession // 36. Mama Sonshine // 37. Weekend Craft // 38. Creative Carnival // 39. Peace, Love and Joyce // 40. Tried & True // 41. The Frill of Life // 42. Dragonfly & Lily Pads // 43. Get Silvered // 44. Minted Strawberry
great craft! I actually pulled my coworker into my office to show her this one for her little boy's room : ) not that I was reading blogs at work or anything....
ReplyDeleteThis is amazing! What an inspired idea to scan the letters to get the perfect cut file :) The wall name is adorable.
ReplyDeleteAll the very best for Mum & Baby too :)
This is a lot better than the exacto knife way! I'm pinning for future reference. Thanks for sharing!
ReplyDeleteSO cute! Great job, I love the little embellishments on the letters as well.
ReplyDeleteHow smart are you putting your letters in the scanner! Such cute letters, I am sure little baby Jackson will love them!
ReplyDeleteGreat technique, I wouldn't have thought of that. Turned out so cute. We'll keep your sister and Jackson in our prayers.
ReplyDeletelove it! he will to when he gets here. thoughts and prayers are with them
ReplyDeleteHi Mommy Fink,
ReplyDeleteFirst please tell your sister-in-law that I'll be joining you in prayers that Jackson stays in Momma's tummy as long as possible. I know this is a scary time for her. Tell her that my daughter was born 4.5 weeks early and she was teeny-tiny but as healthy as can be!!! Now on to your project! I love your relationship, "she pins….I say “I can make that”. Haha!!! She's lucky to have you. You are genius to think to just scan the letters!!! His name turned out darling. Thank you so very much for the detailed tutorial so the rest of us can give this project a try! I'm so very glad that I'm a part of this amazing, talented Silhouette Challenge group!!!
Peace, Love and Joy,
Joyce
So glad you joined the challenge (and especially at such a challenging time for your family -- sending "stay in mommy's tummy" thoughts your and your sister's way). And this is such a GREAT idea! Now if only my old scanner would work with my new computer (sigh, not to be...)
ReplyDeleteHello fellow Silhouette Challenge Buddy.
ReplyDeleteHow smart are you to try scanning! I love that idea. I have a older Canon machine so I'll have to watch to see if the proportions get skewed.
Do you know if changing the dpi settings would improve the quality of tracing in the software program? Or would it make any difference at all?
Hi Kal,
DeleteThanks for stopping by. I recently (since I posted this) caught a brief post somewhere about scanning an image. I believe they said if you know the width of your scanner bed you can use the scale tool to resize the image to the correct proportions. I did try this (I think) with the older scanner I was using and the proportions were still off. I think the post I caught was referring to when you open up an image in studio and it is HUGE....you can then use the scale tool. Worth a try I guess. I do not know if the dpi settings would help....but again....it is worth a try ;)
This is such a clever idea for a shortcut! :)
ReplyDeleteAwe, what a precious gift for such a special baby. Thoughts and prayers sent your way!
ReplyDeleteOh and thanks for the reminder to talk to my sister (we're both crafting nuts and have yet to have a craft day!)!
Much Love,
Trisha D.
Black and White Obsession (and fellow Silhouette Challenge-r)
Sarah,
ReplyDeleteGreat project! Jackson is a lucky little boy!
SC Buddy,
Karen Marie
Dragonfly & Lily Pads
What a great idea! I never would have thought to do this!
ReplyDeleteI would have never thought of doing it this way!! You are brilliant!!!
ReplyDeleteI'm finally getting through all the projects. This wall art is amazing! I love the patterns and colors you chose. What a lucky little baby.
ReplyDeleteSo creative work you have done..Thanks for sharing this information
ReplyDelete